[jQuery] CSS 속성 조작: Box Model, Manipulation
🍁CSS 적용
CSS 읽기 쓰기
- 읽기: CSS(속성)
- 쓰기: CSS(속성, 값)
CSS 읽기
//alert(getComputedStyle(document.getElementById('box')).getPropertyValue('color'));
alert($('#box').css('color'));
jQuery에는 내부적으로 이 작업이 되어 있다는 것을 알 수 있다.
CSS 쓰기 (메서드 체인)
//$('#box').css('color', 'blue');
$('#box').css('color', 'blue').css('background-color', 'gold').css('font-size', '3rem');
jQuery는 연쇄적으로 작업할 수 있다는 점에서 편리하다.
css(속성명, 값)이 반복하여 쓰이고 있다. 이 경우 객체를 이용하여 다른 방법으로 표현할 수 있다.
객체를 이용하여 쓰기
$('#box').css({
    color: 'blue',
    backgroundColor: 'gold',
    'font-size': '3rem'
});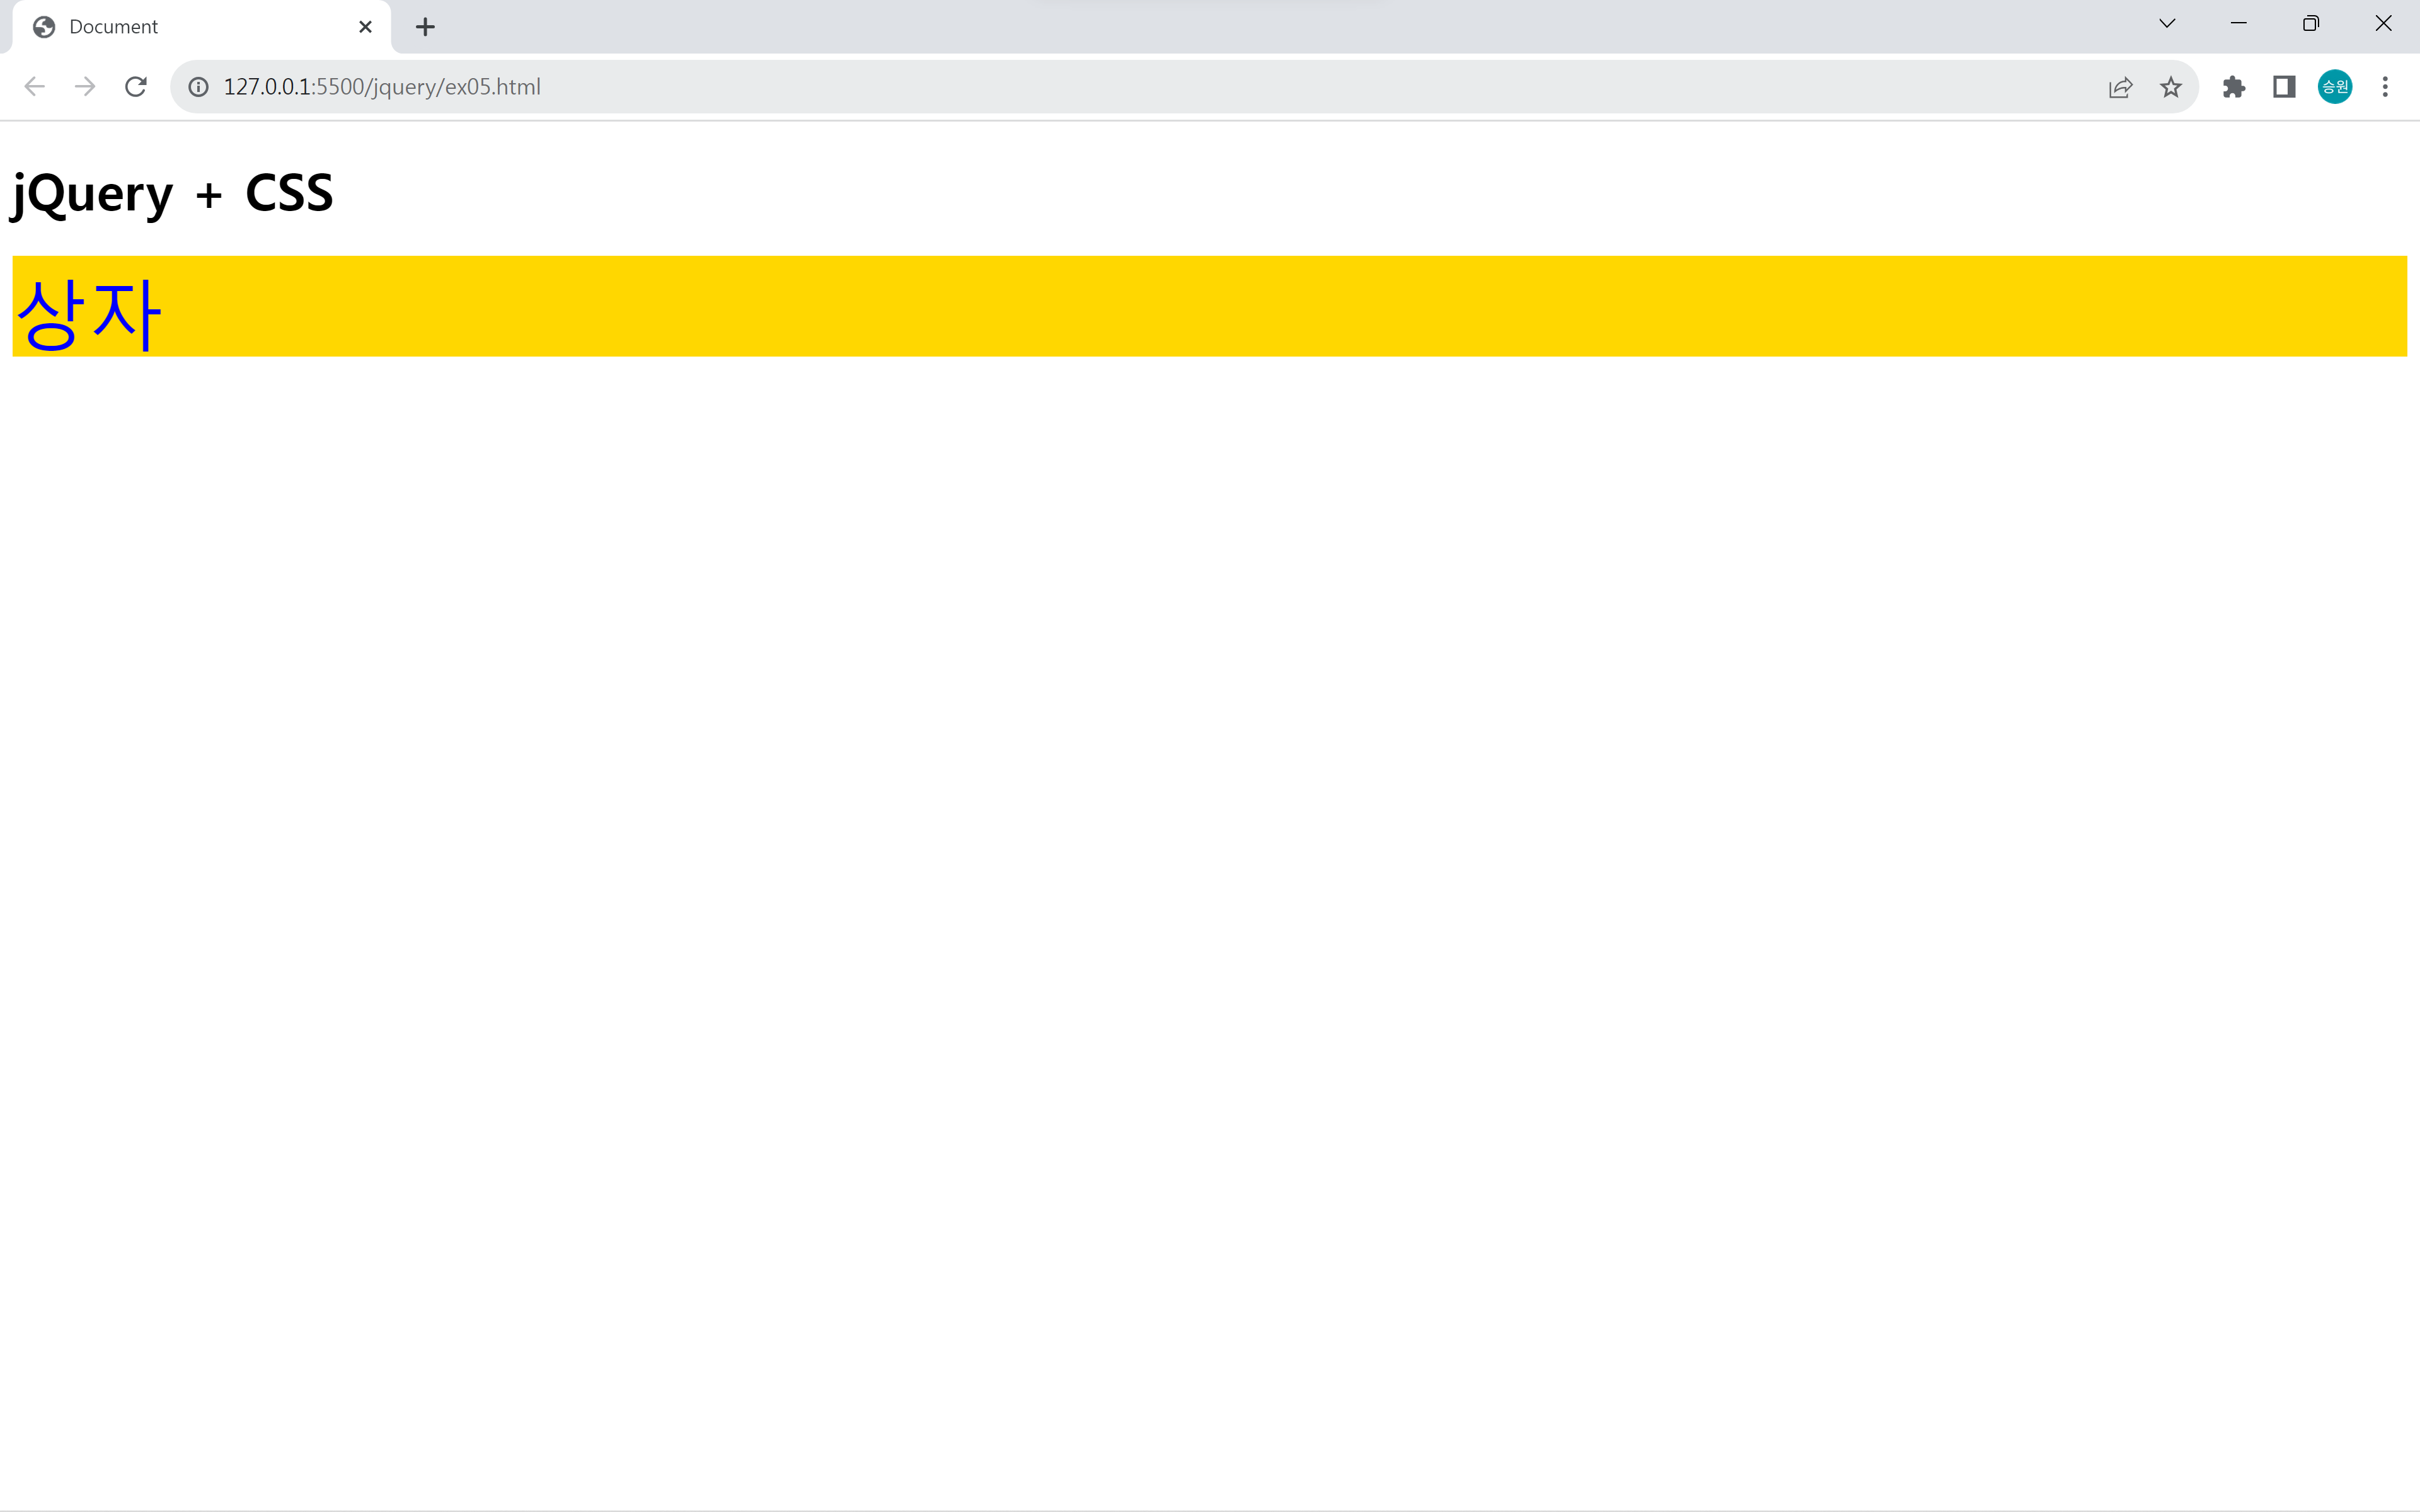
코드를 관리하는 차원에서는 객체를 이용하는 방법을 사용하는 게 편리하다.
정리
//읽기
1. obj.css('attr')
//쓰기
1. obj.css('attr', 'value')
2. obj.css('attr', 'value').css('attr', 'value').css('attr', 'value')
3. obj.css({
    attr: value,
    attr: value,
    attr: value
})
attr은 attribute로 속성을 의미한다.
위와 같은 방식으로 읽기 쓰기 작업을 할 수 있다.
Class에 CSS 적용
- addClass
- removeClass
- toggleClass
.one { color: blue; }
.two { background-color: gold; }
$('#box').addClass('one');
$('#box').addClass('two');
$('#box').removeClass('one');
$('#box').toggleClass('two');BOM은 다량의 요소를 관리하기 어렵지만, DOM은 개별적인 요소를 분리하기 쉽고, 관리하기에 용이하다.
addClass는 속성을 적용하며, removeClass는 속성을 제거하고, toggleClass는 속성을 적용하고 제거하는 것을 하나의 코드로 할 수 있게 한다.
jQuery의 작업들은 모두 순수 자바스크립트에서 하는 일들이지만, 이처럼 구문에 차이가 있다.
🍁Box Model
기본 코드
<!DOCTYPE html>
<html lang="en">
<head>
    <meta charset="UTF-8">
    <meta name="viewport" content="width=device-width, initial-scale=1.0">
    <title>Document</title>
    <style>
        #box {
            border: 20px solid blue;
            width: 200px;
            height: 200px;
            padding: 30px;
            margin: 50px;
            background-color: orange;
        }
    </style>
</head>
<body>
    <h1>jQuery + Box model</h1>

    <input type="button" value="버튼" id="btn1">
    <hr>
    <div id="box">상자</div>

    <script src="../asset/js/jquery-1.12.4.js"></script>
    <script>

    </script>
</body>
</html>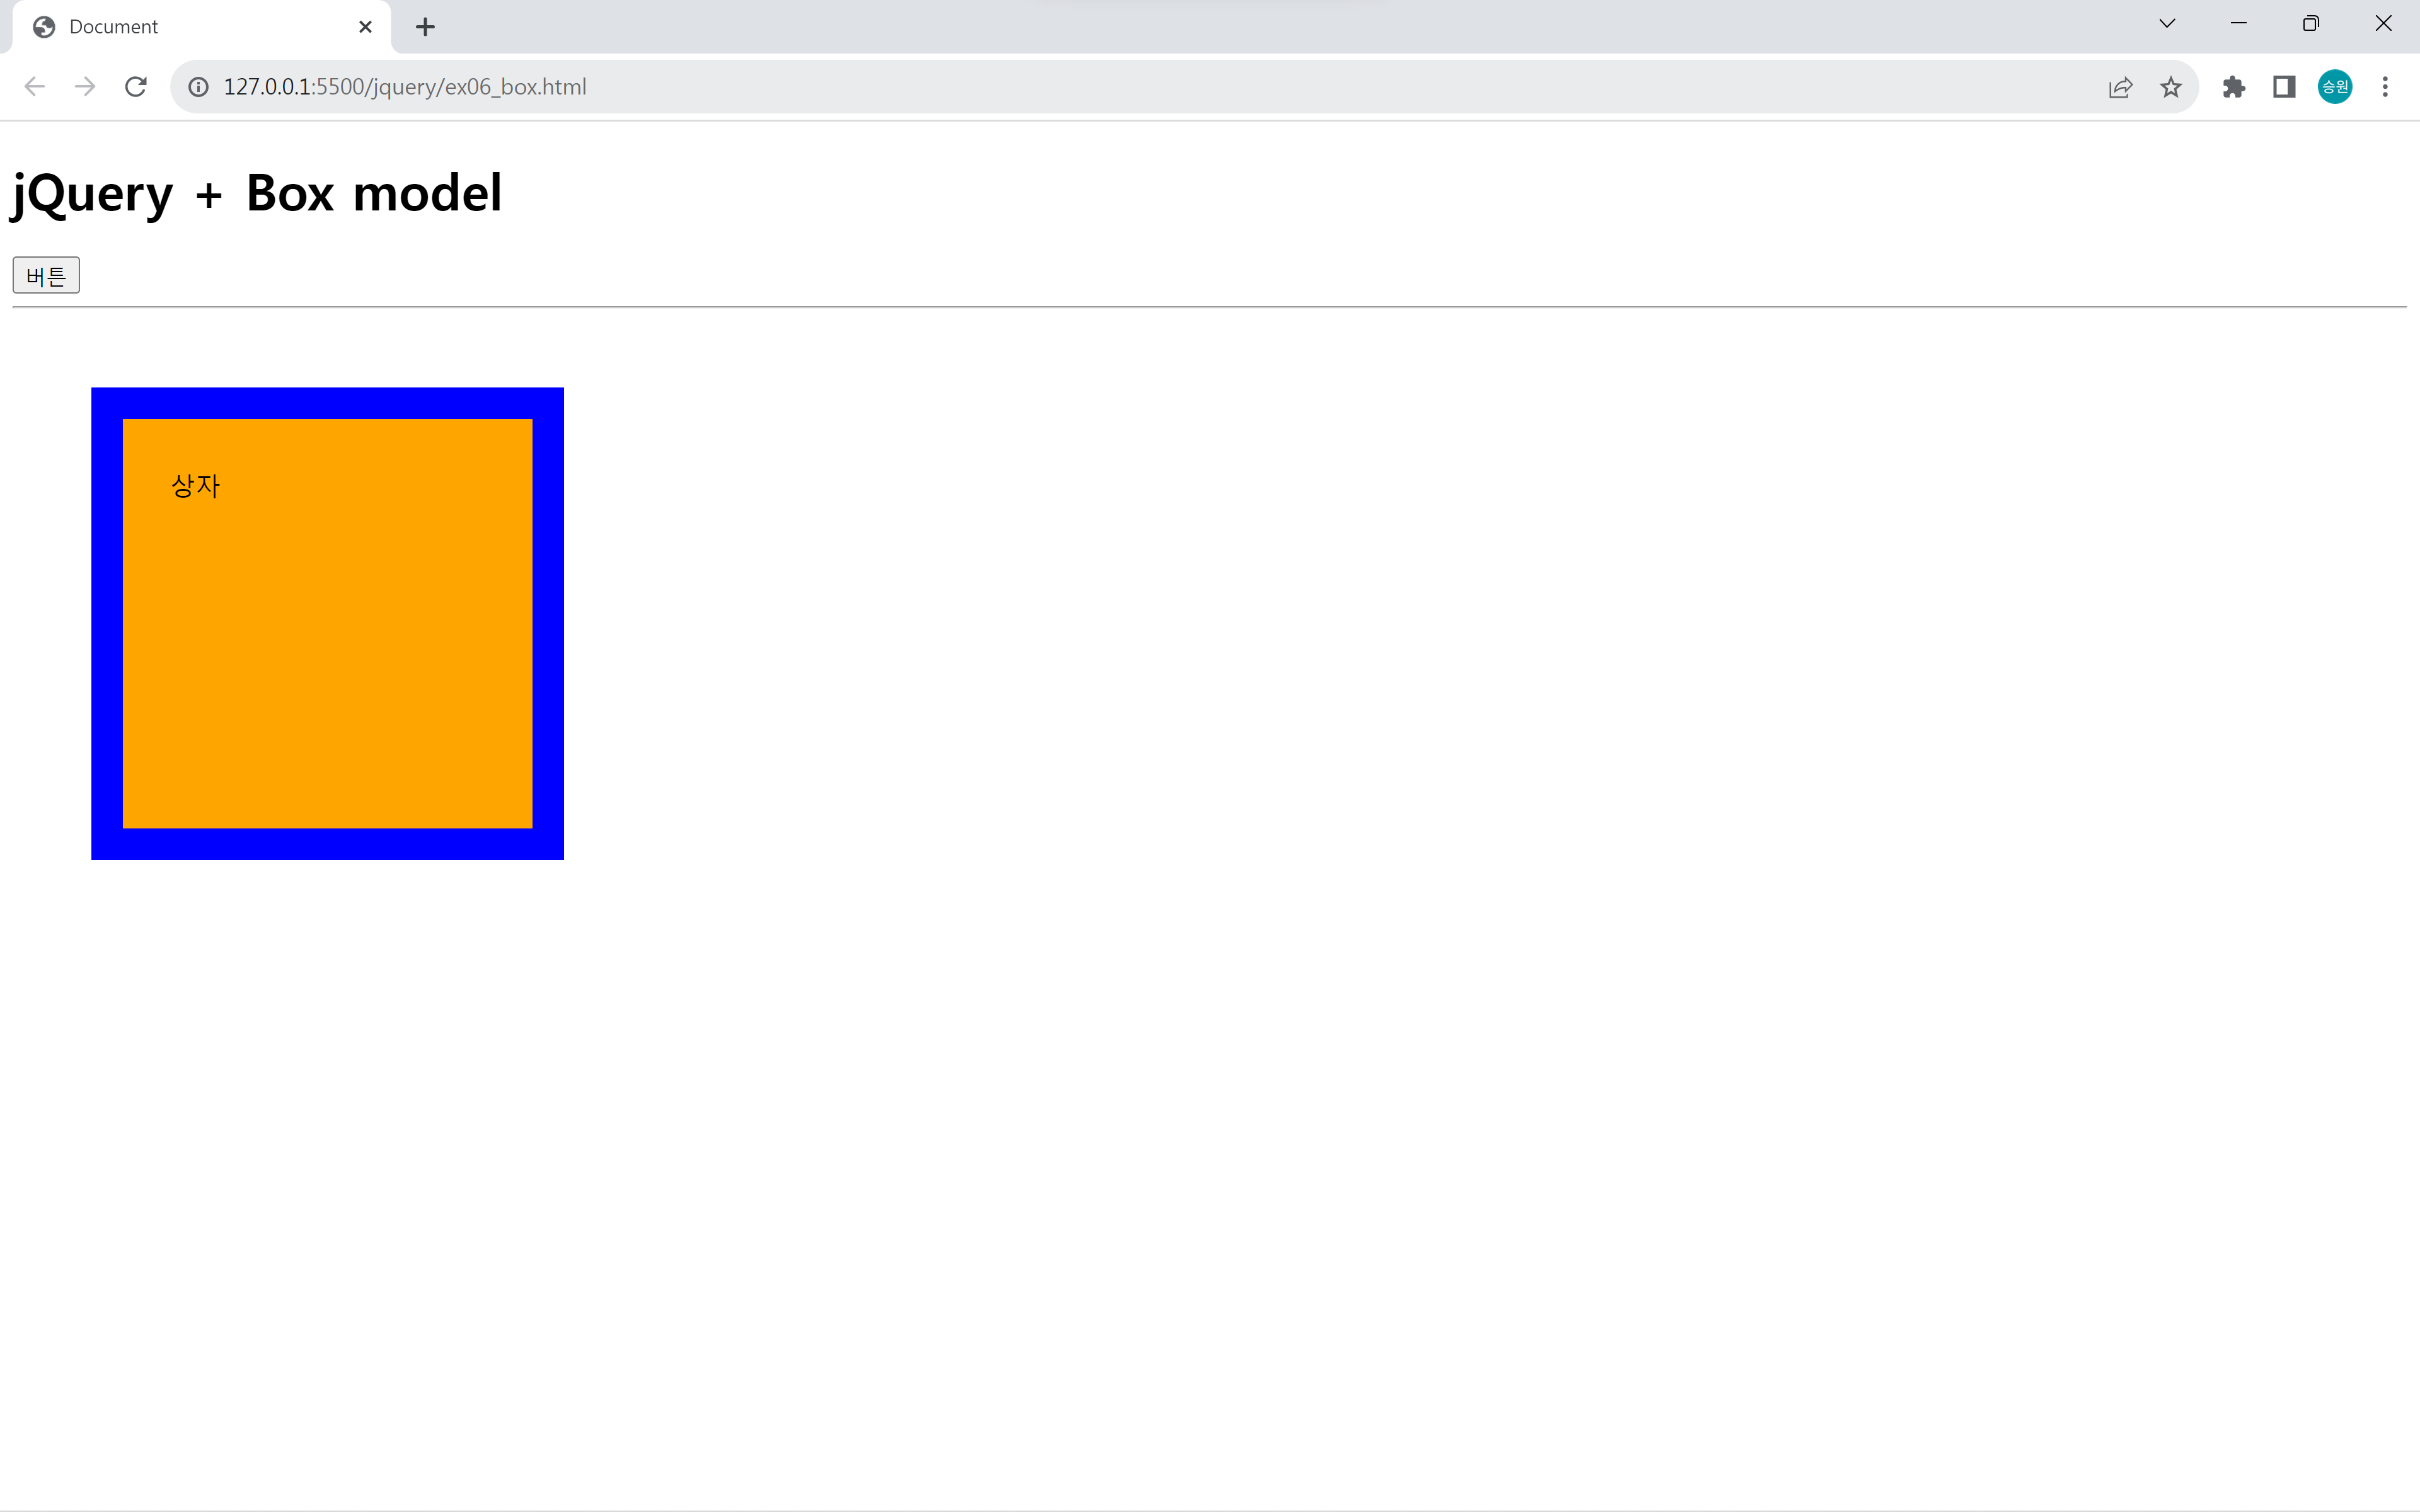
jQuery의 Box Model의 크기를 알아내는 방법에 대해 알아보도록 하자.
CSS 속성
console.log('width', $('#box').css('width'));
console.log('height', $('#box').css('height'));
jQuery 전용 메서드
width(), height()
console.log('width()', $('#box').width());
console.log('height()', $('#box').height());
$('#box').height(300);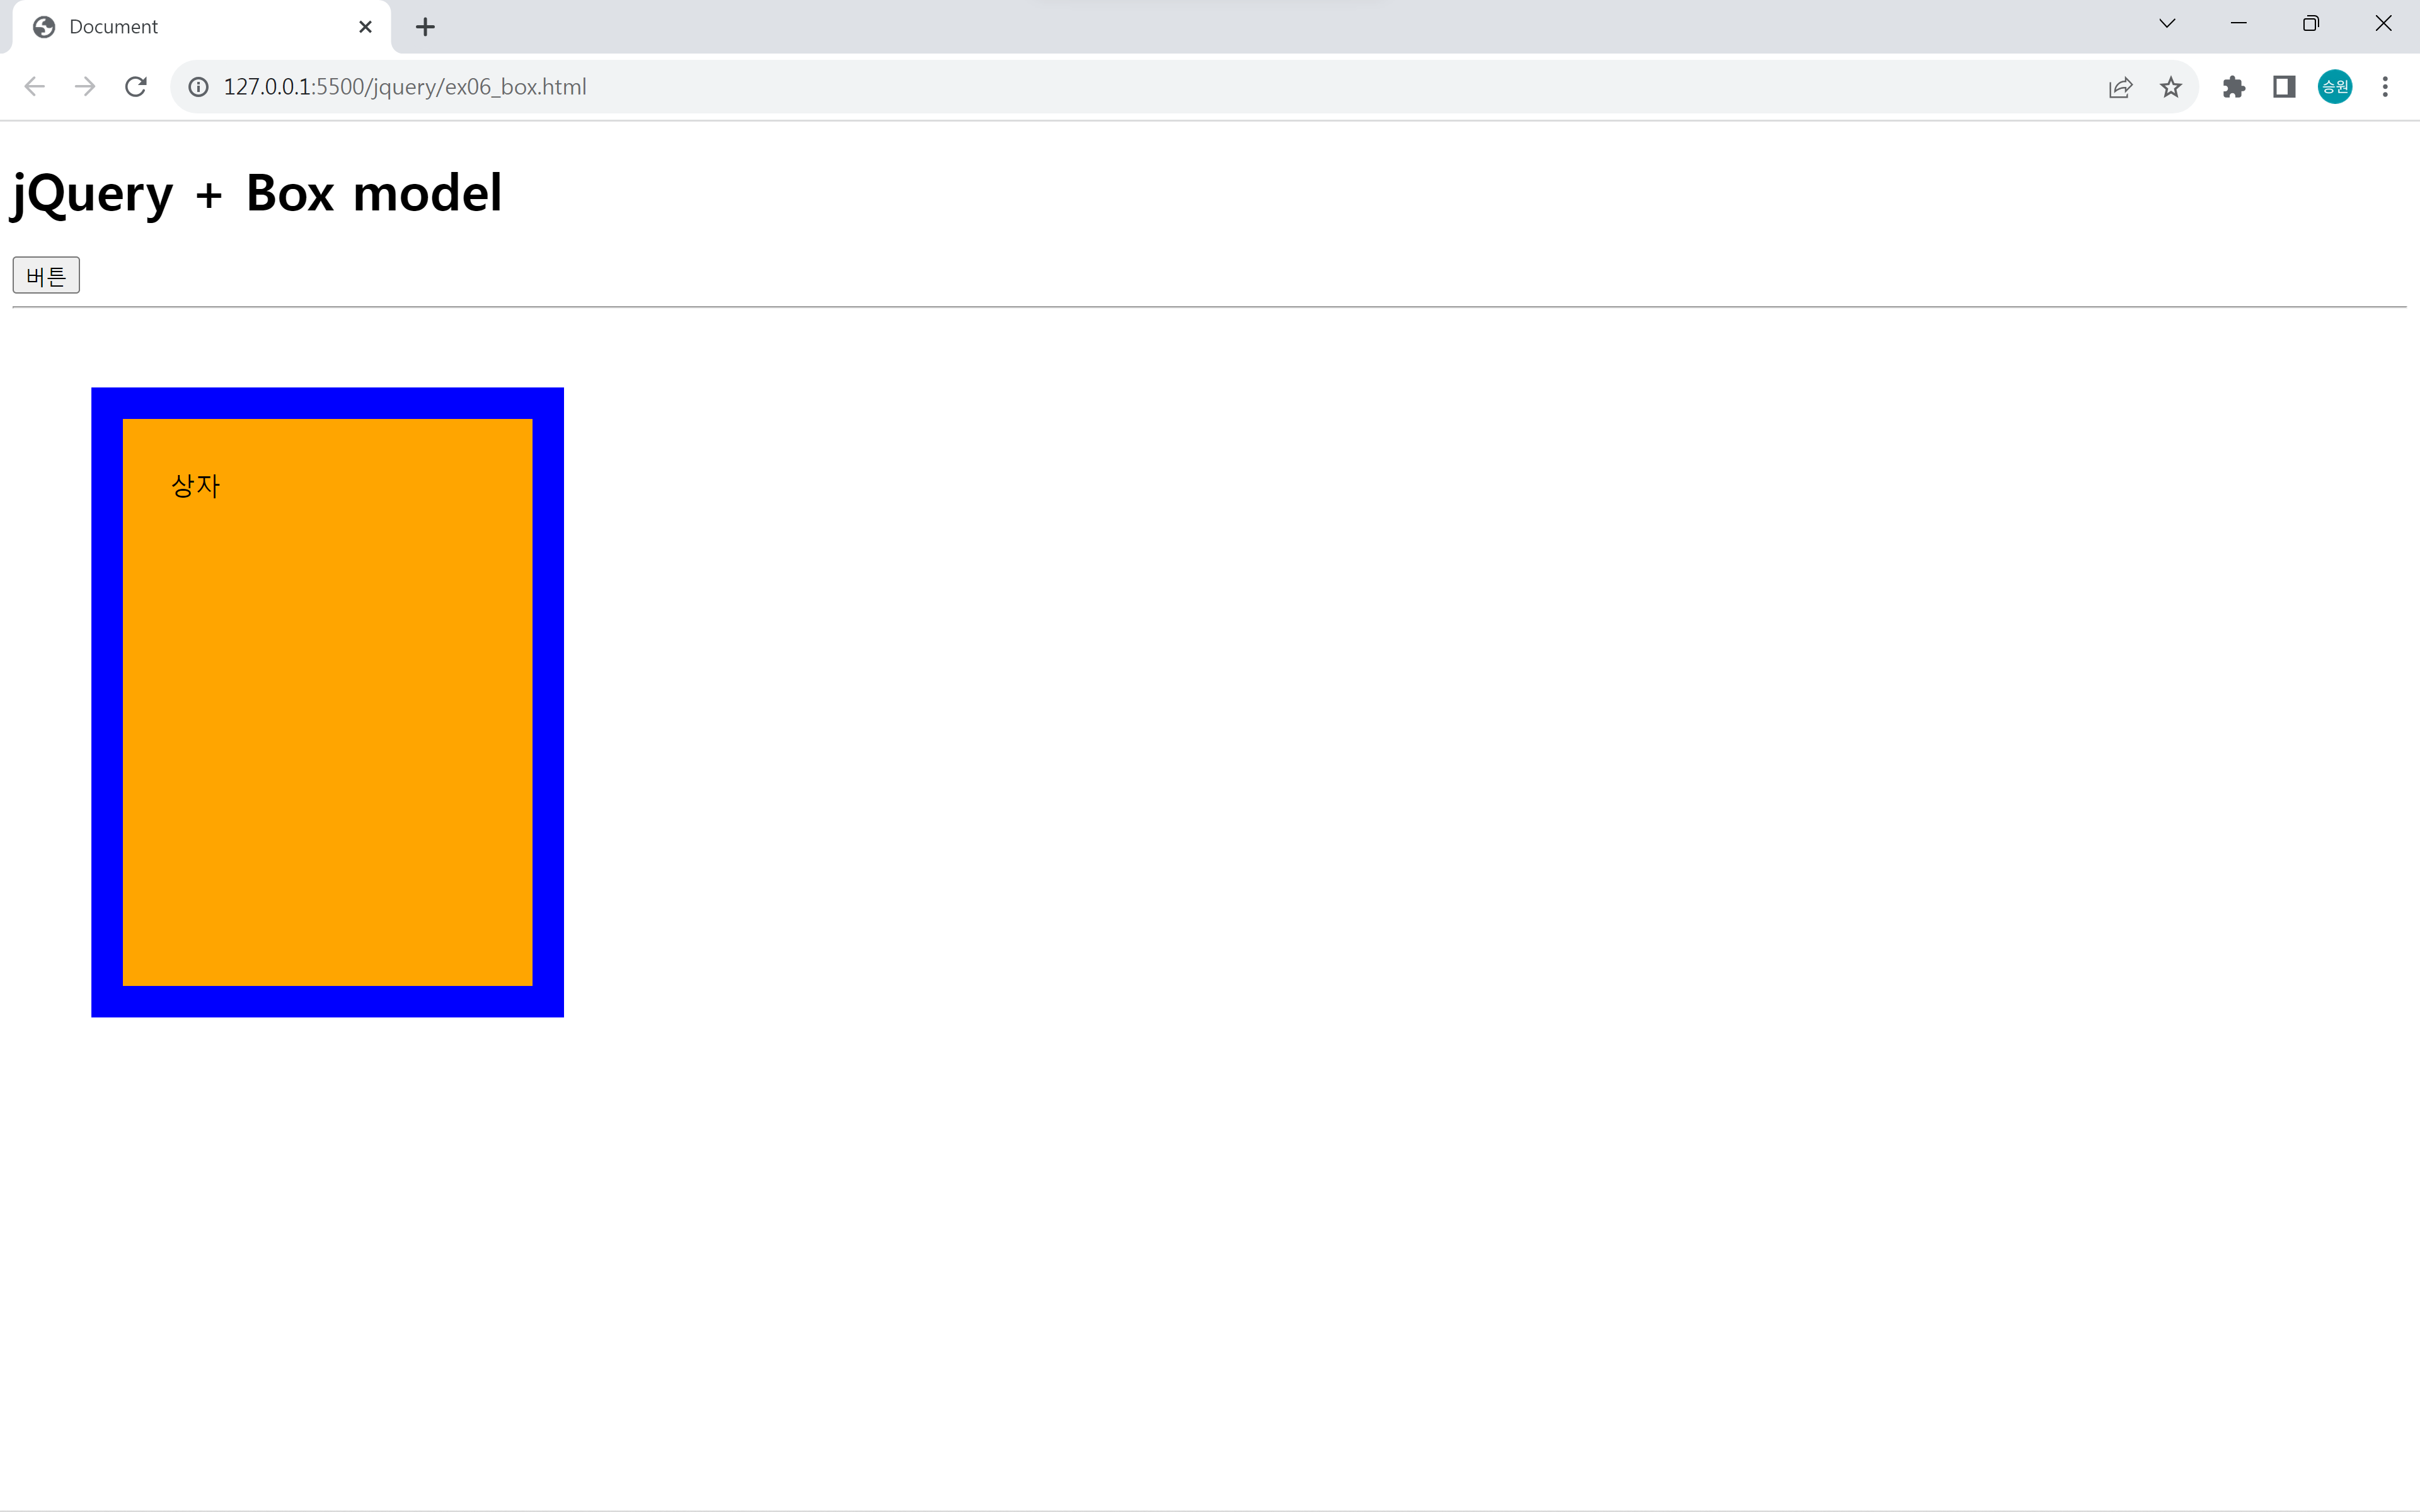
메서드의 인자값으로 다룰 필요 없이 전용 메서드를 사용하여 값을 가져와서 사용할 수 있다.
그리고 jQuery 전용 메서드는 숫자형으로 반환하며, 'px' 단위가 붙기 때문에 CSS 속성으로 가져오는 것보다 사용하기 편하다.
이때 단위는 기재되지 않았지만 무조건 px이다.
innerWidth(), innerHeight()
console.log('innerWidth()', $('#box').innerWidth());
console.log('innerHeight()', $('#box').innerHeight());
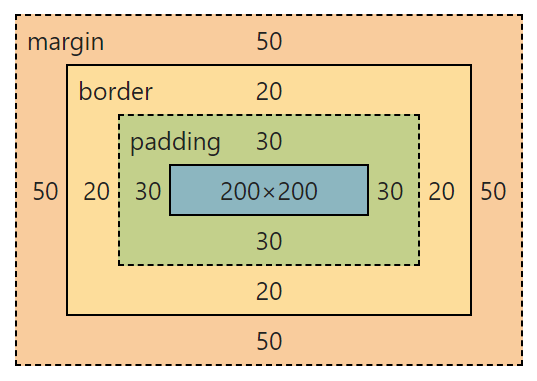
innerWidth와 innerHeight로 260이 출력된다.
숫자가 60이 더 늘어난 이유는 width와 height에 패딩을 더했기 때문이다.
outerWidth(), outerHeight()
console.log('outerWidth()', $('#box').outerWidth());
console.log('outerHeight()', $('#box').outerHeight());
width or height + padding + border = orange 영역 + 파란색 테두리 = 실제 사각형
시각적으로 눈에 보이는 실제 상자의 크기를 얻어낼 때 사용한다.
outerWidth(true), outerHeight(true)
console.log('outerWidth(true)', $('#box').outerWidth(true));
console.log('outerHeight(true)', $('#box').outerHeight(true));
true를 인자값으로 넣으면 margin을 더한 값을 출력한다.
스스로 차지하는 크기는 너비 400, 높이 400이라는 것을 알 수 있다.
실제로는 innerXXX, outerXXX, outerXXX(true)를 많이 사용한다.
🍁Manipulation
버튼을 클릭했을 때 box에 동적으로 내용물을 넣는 작업을 해보도록 하자.
jQuery는 전부 메서드로 만들어 두었기 때문에 프로퍼티가 없다.
기본 코드
<input type="button" value="버튼" id="btn1">
<div id="box"></div>
<hr>
<input type="text" id="txt1">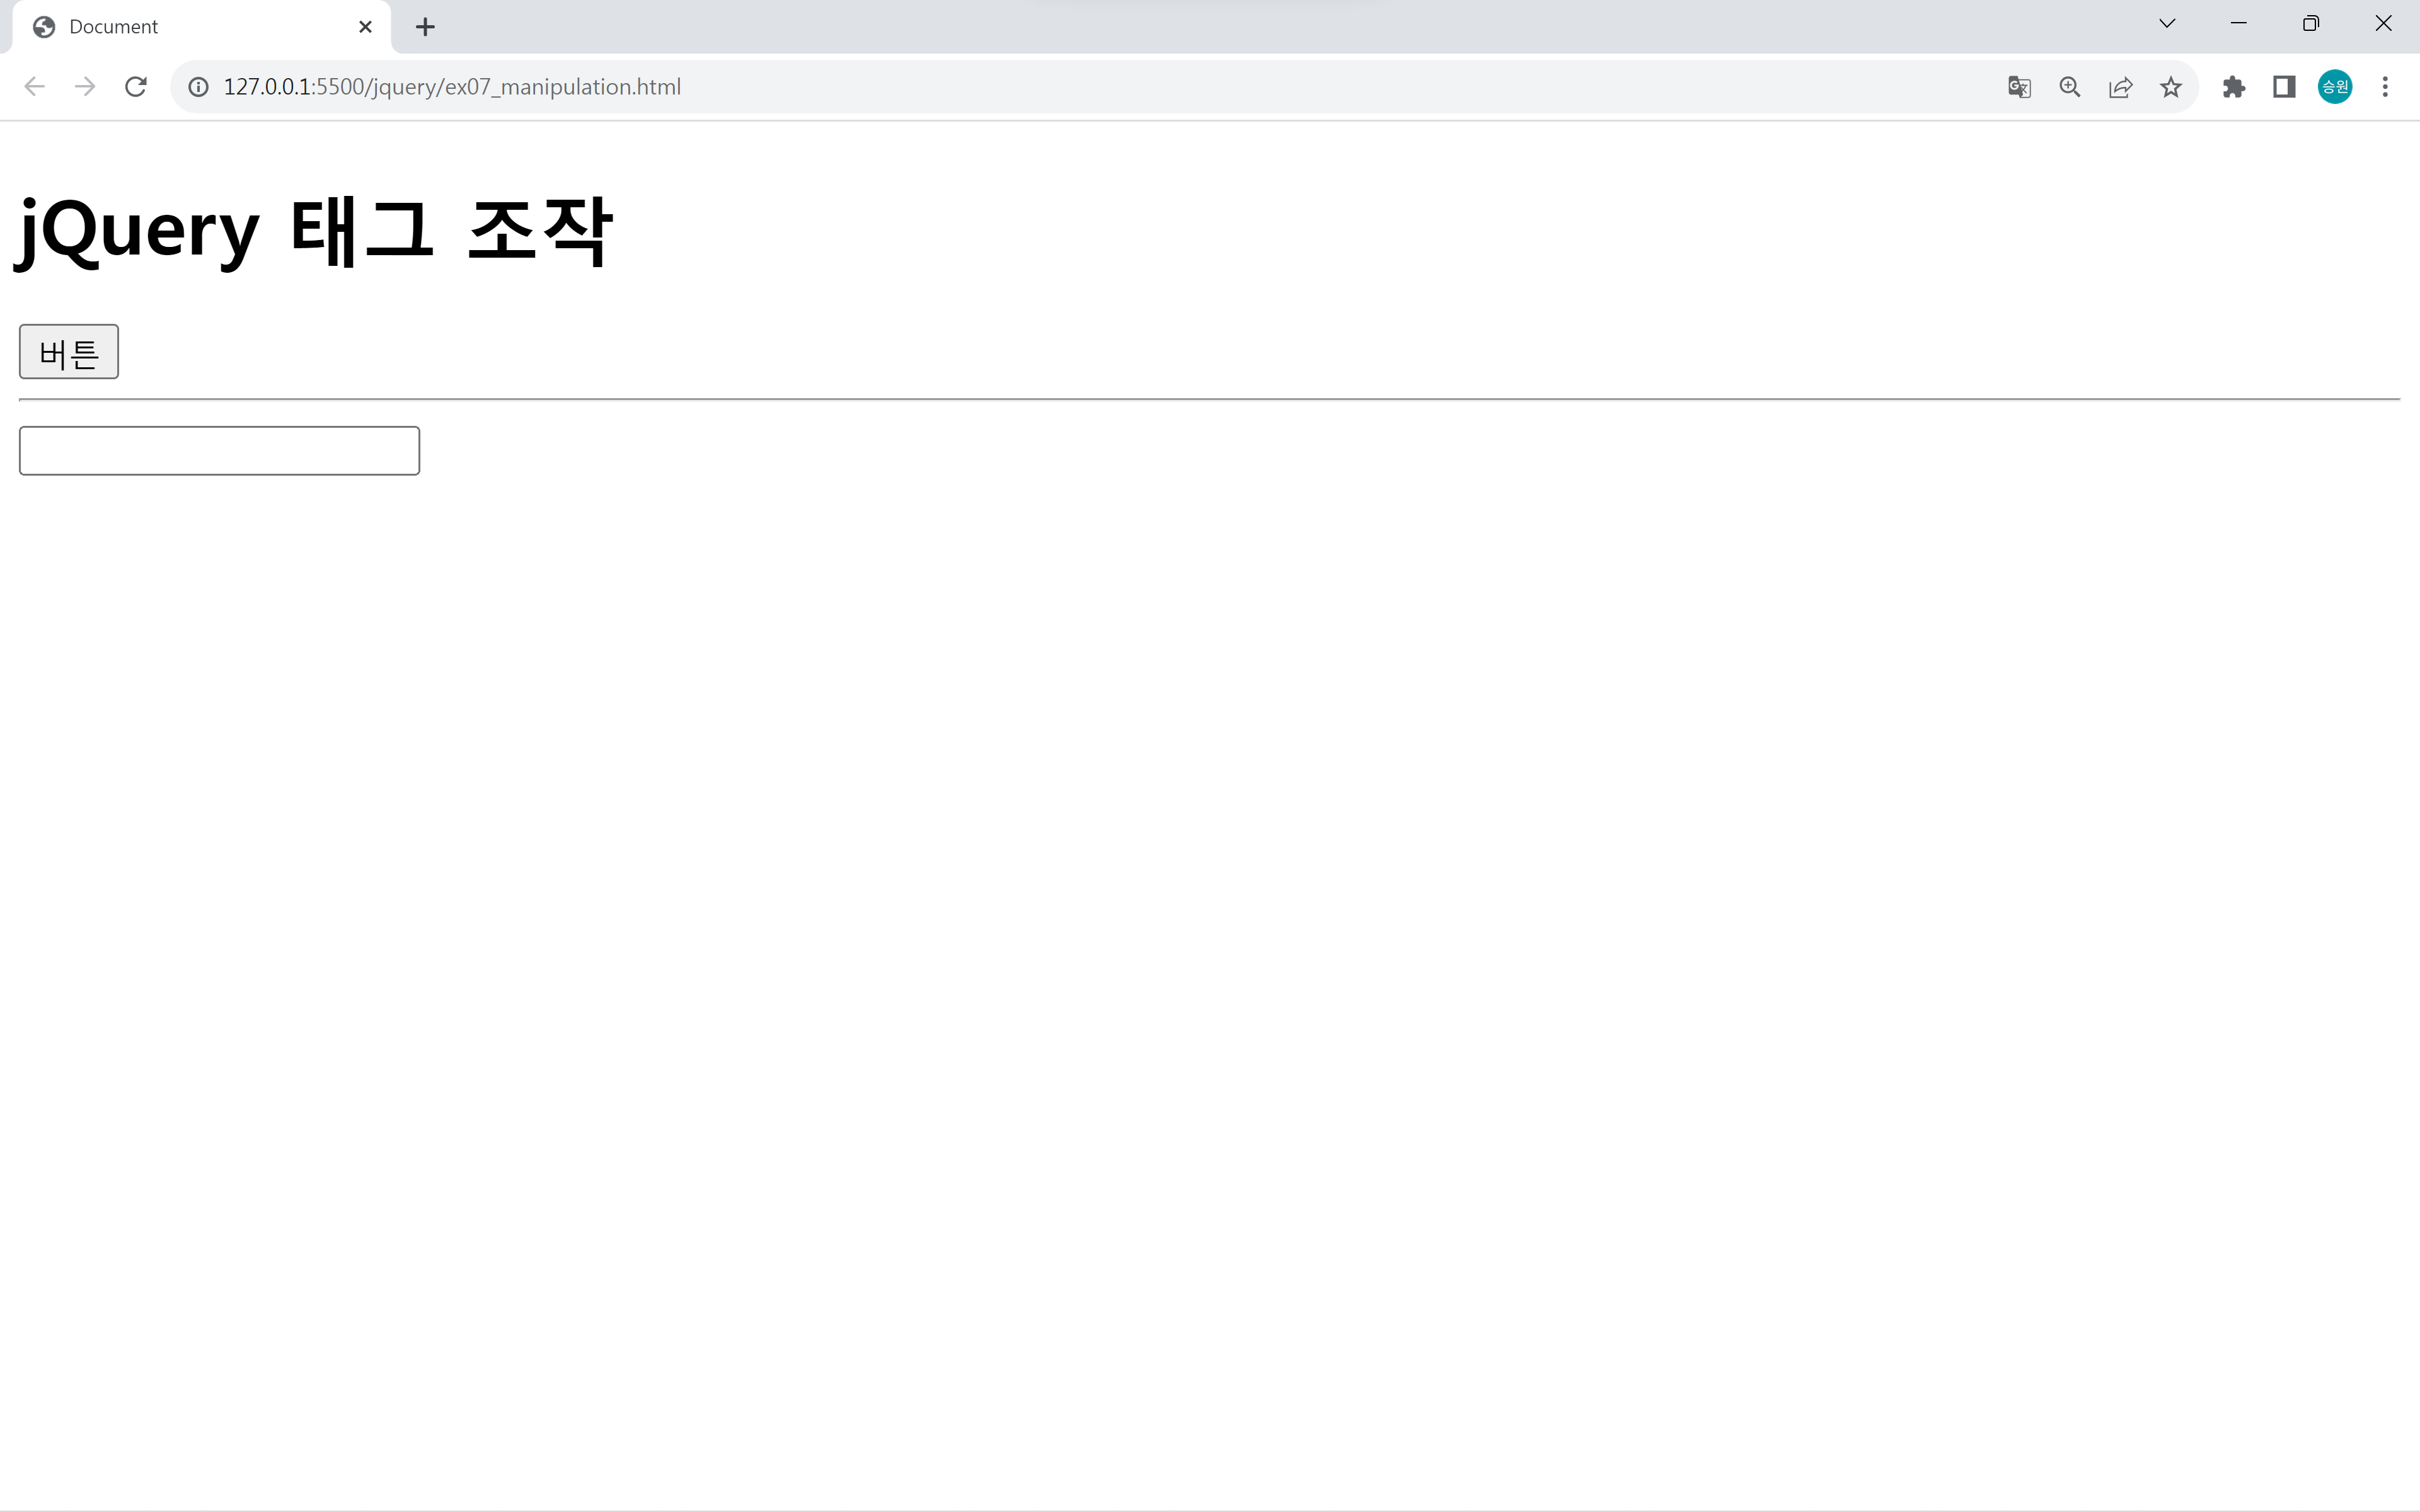
콘텐츠를 조작할 때에는 innerText, textContext, innerHTML, value를 사용했다.
jQuery에서는 어떤 메서드로 사용하여 입출력하여 콘텐츠를 조작할 수 있는지 알아보도록 하자.
text()
$('#box').text('Isaac'); //쓰기
alert($('#box').text()); //읽기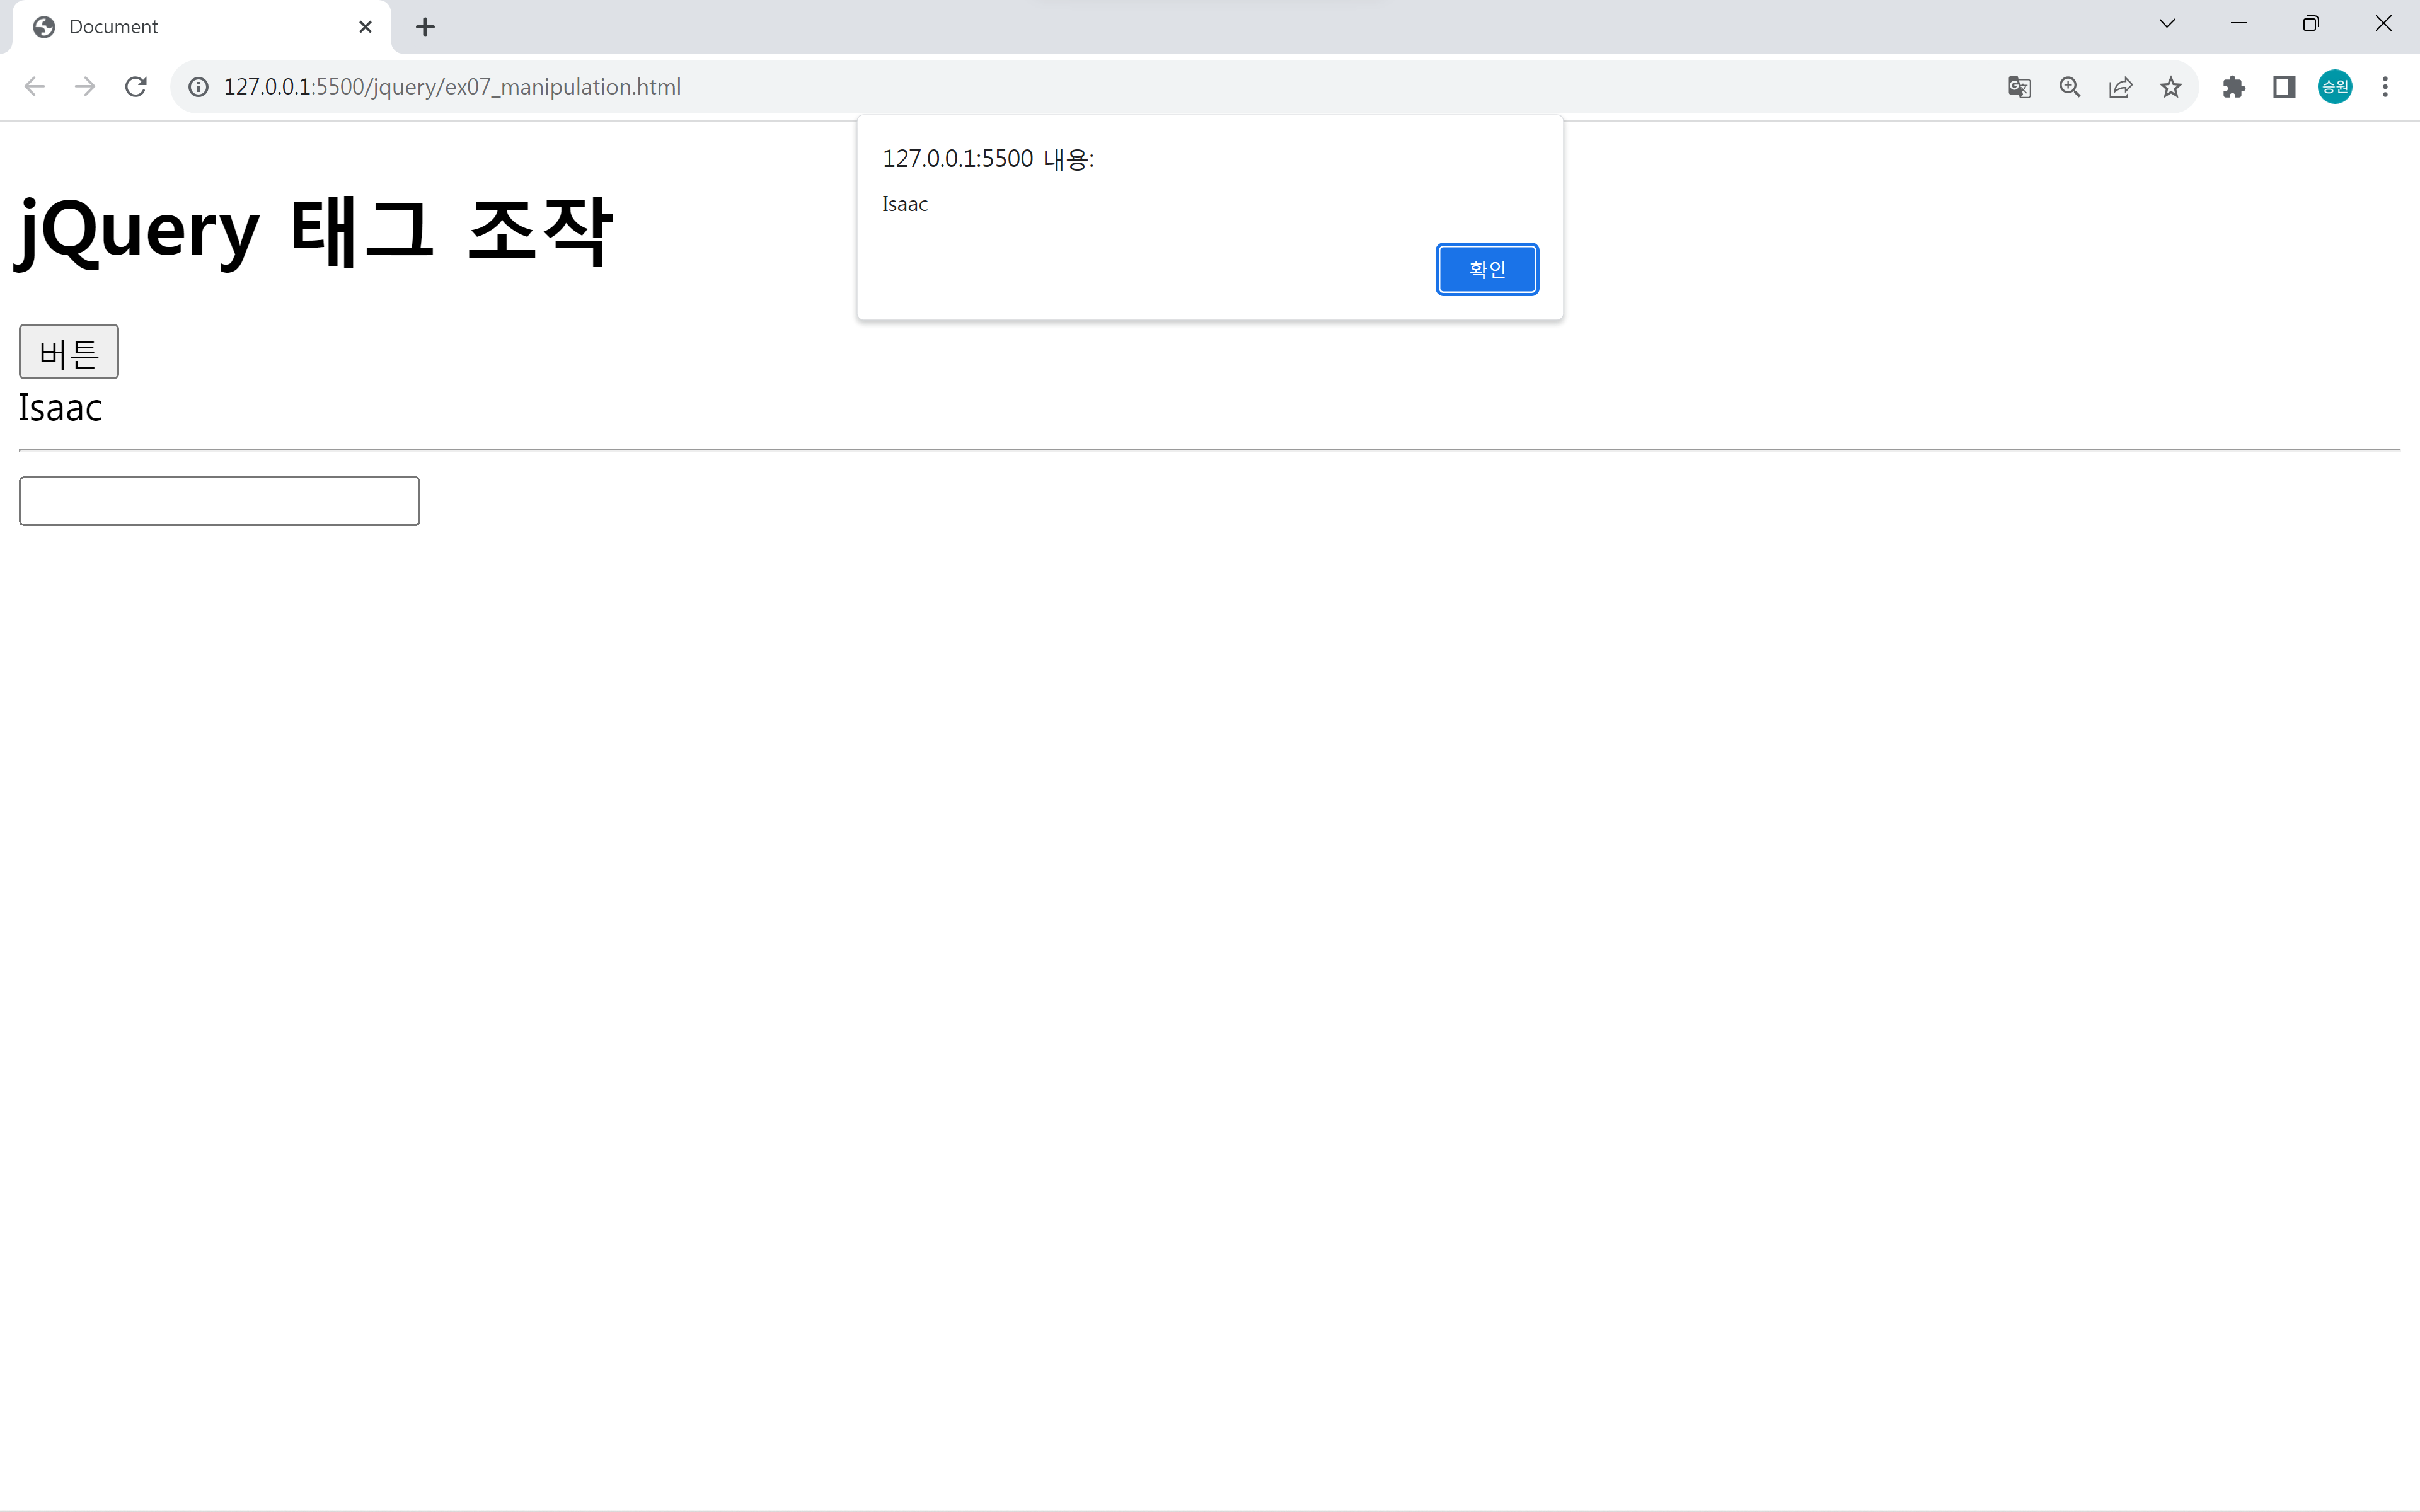
html()
$('#box').html('<b>안녕하세요.</b>');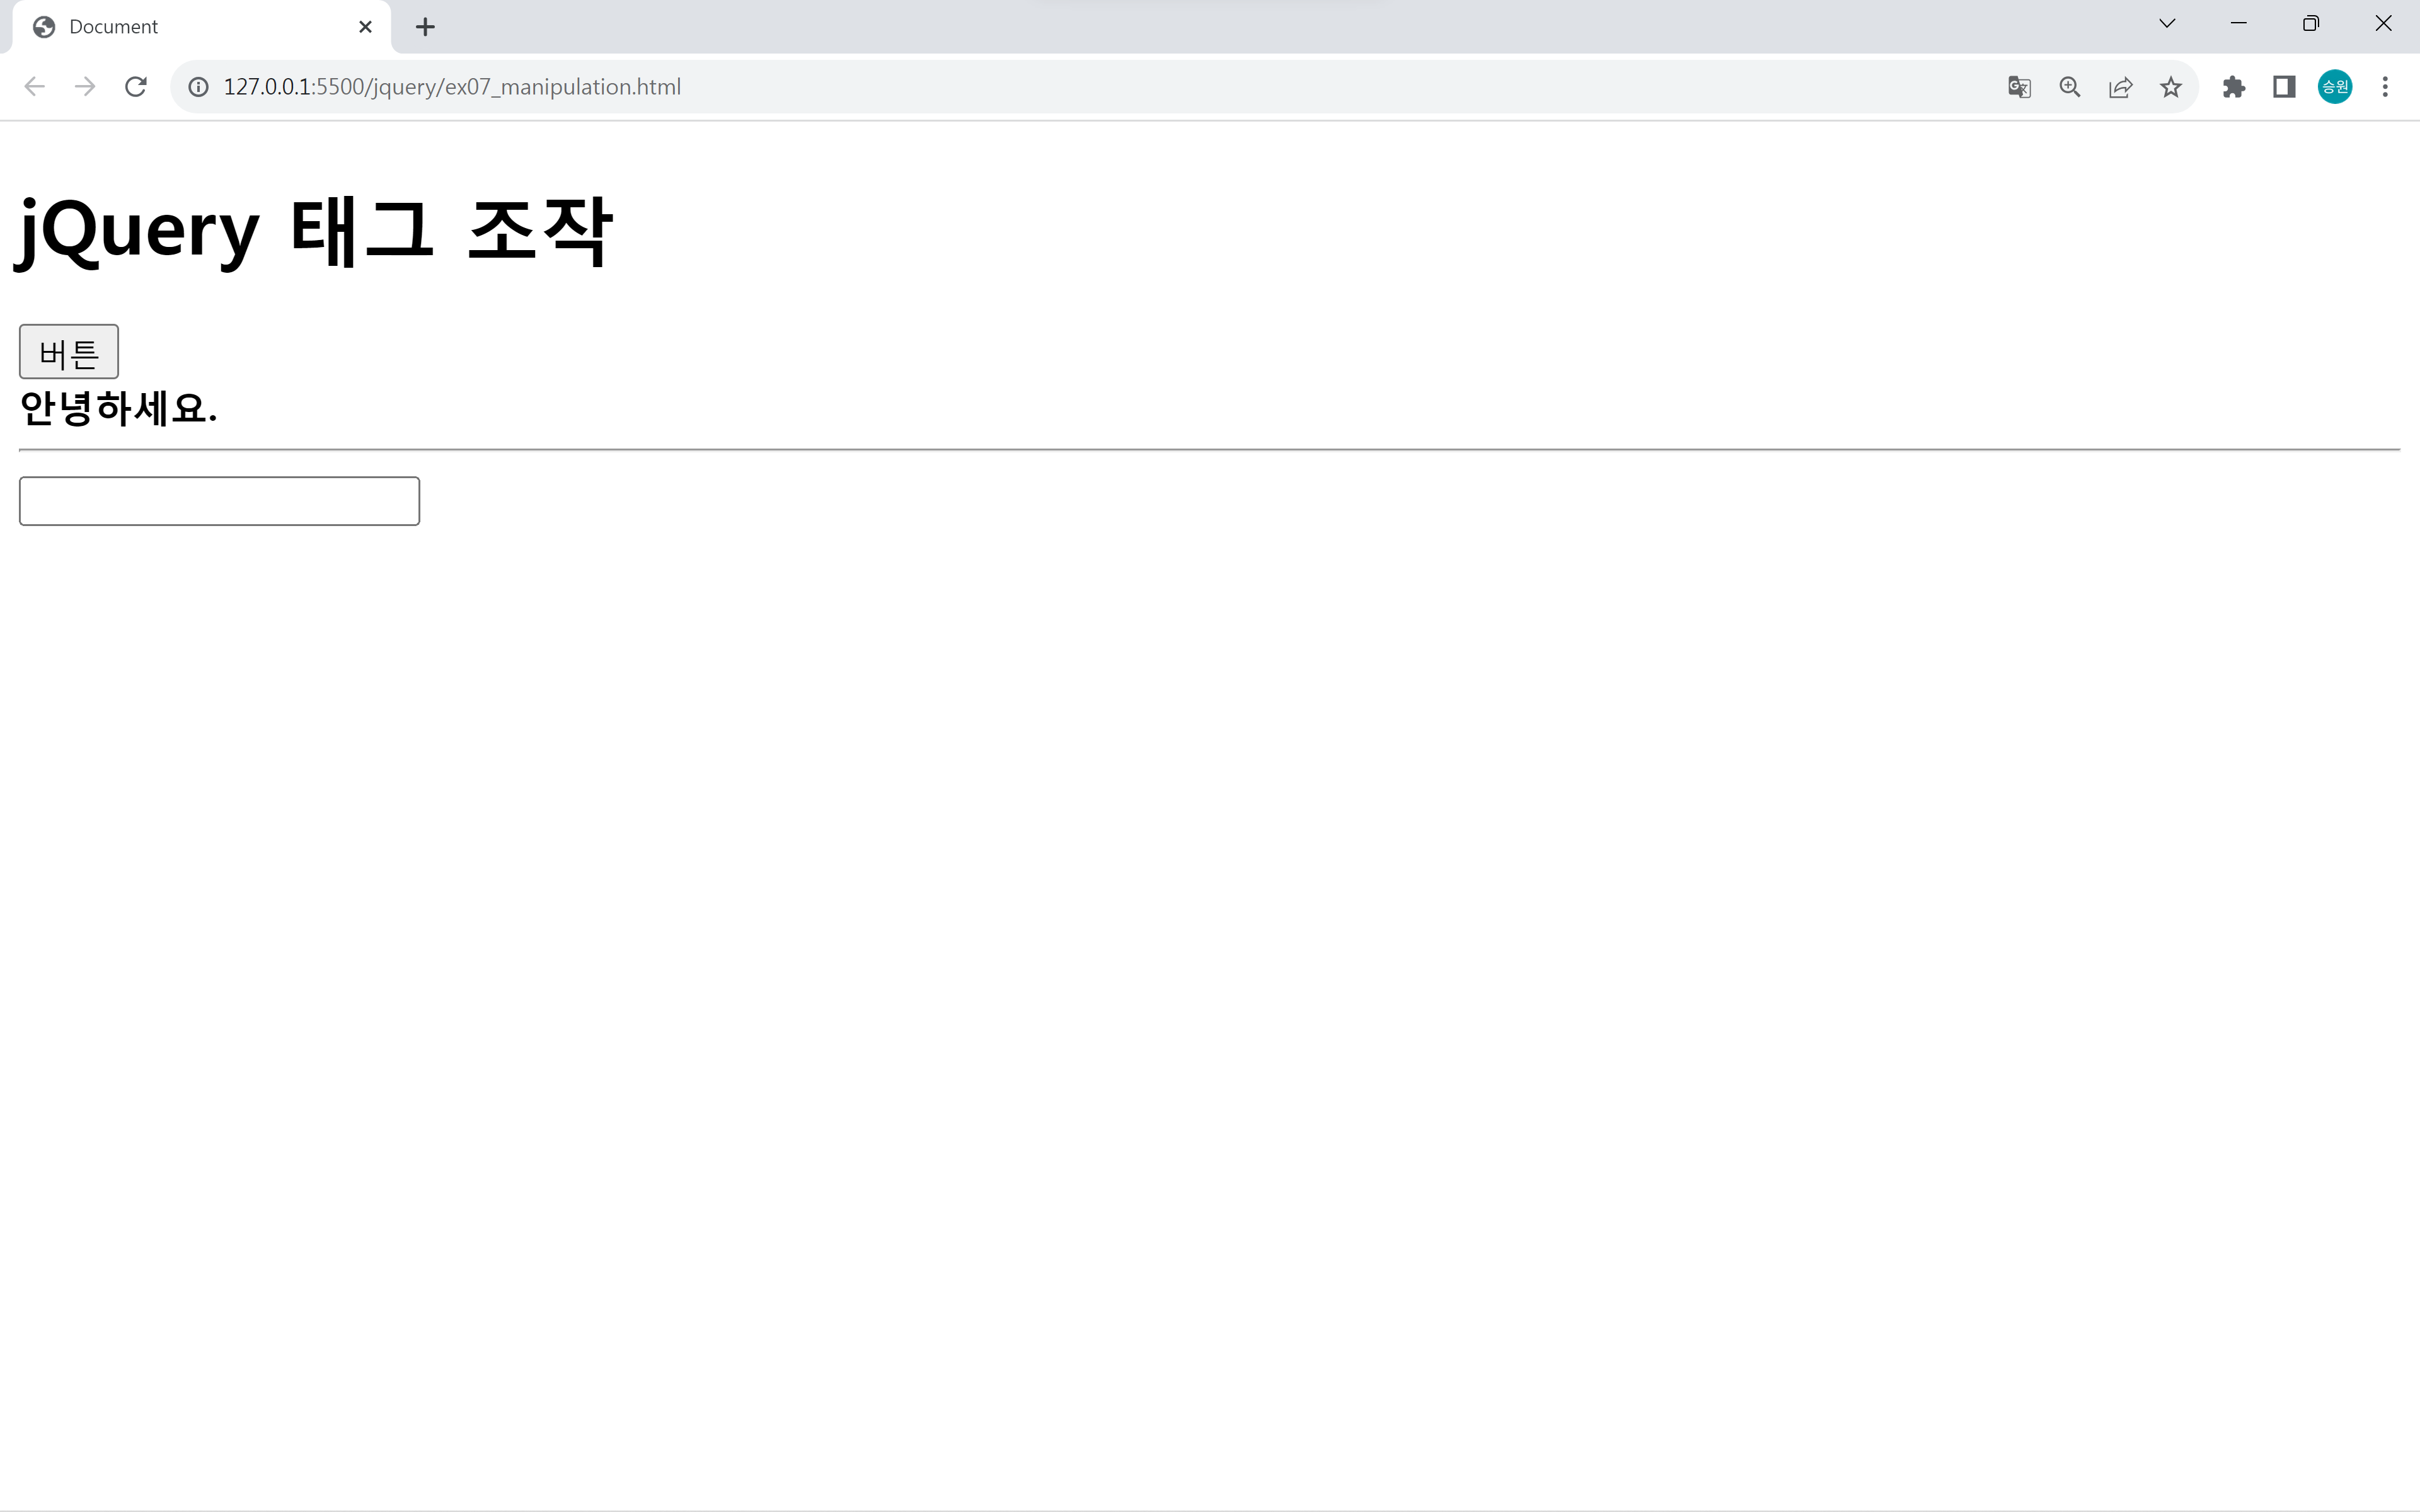
html의 특징은 태그가 적용된 채로 내용물을 입출력할 수 있다는 점이다.
val()
$('#box').val('기본값'); //쓰기
alert($('#box').val()); //읽기
HTML 속성 조작
//BOM
obj.prop //읽기
obj.prop = value //쓰기

//DOM
obj.getAttribute('prop')
obj.getAttribute('prop', value)
attr 메서드는 HTML의 속성을 제어한다.
attr()
$('#txt1').attr('size', 50); //읽기
alert($('#txt1').attr('size')); //쓰기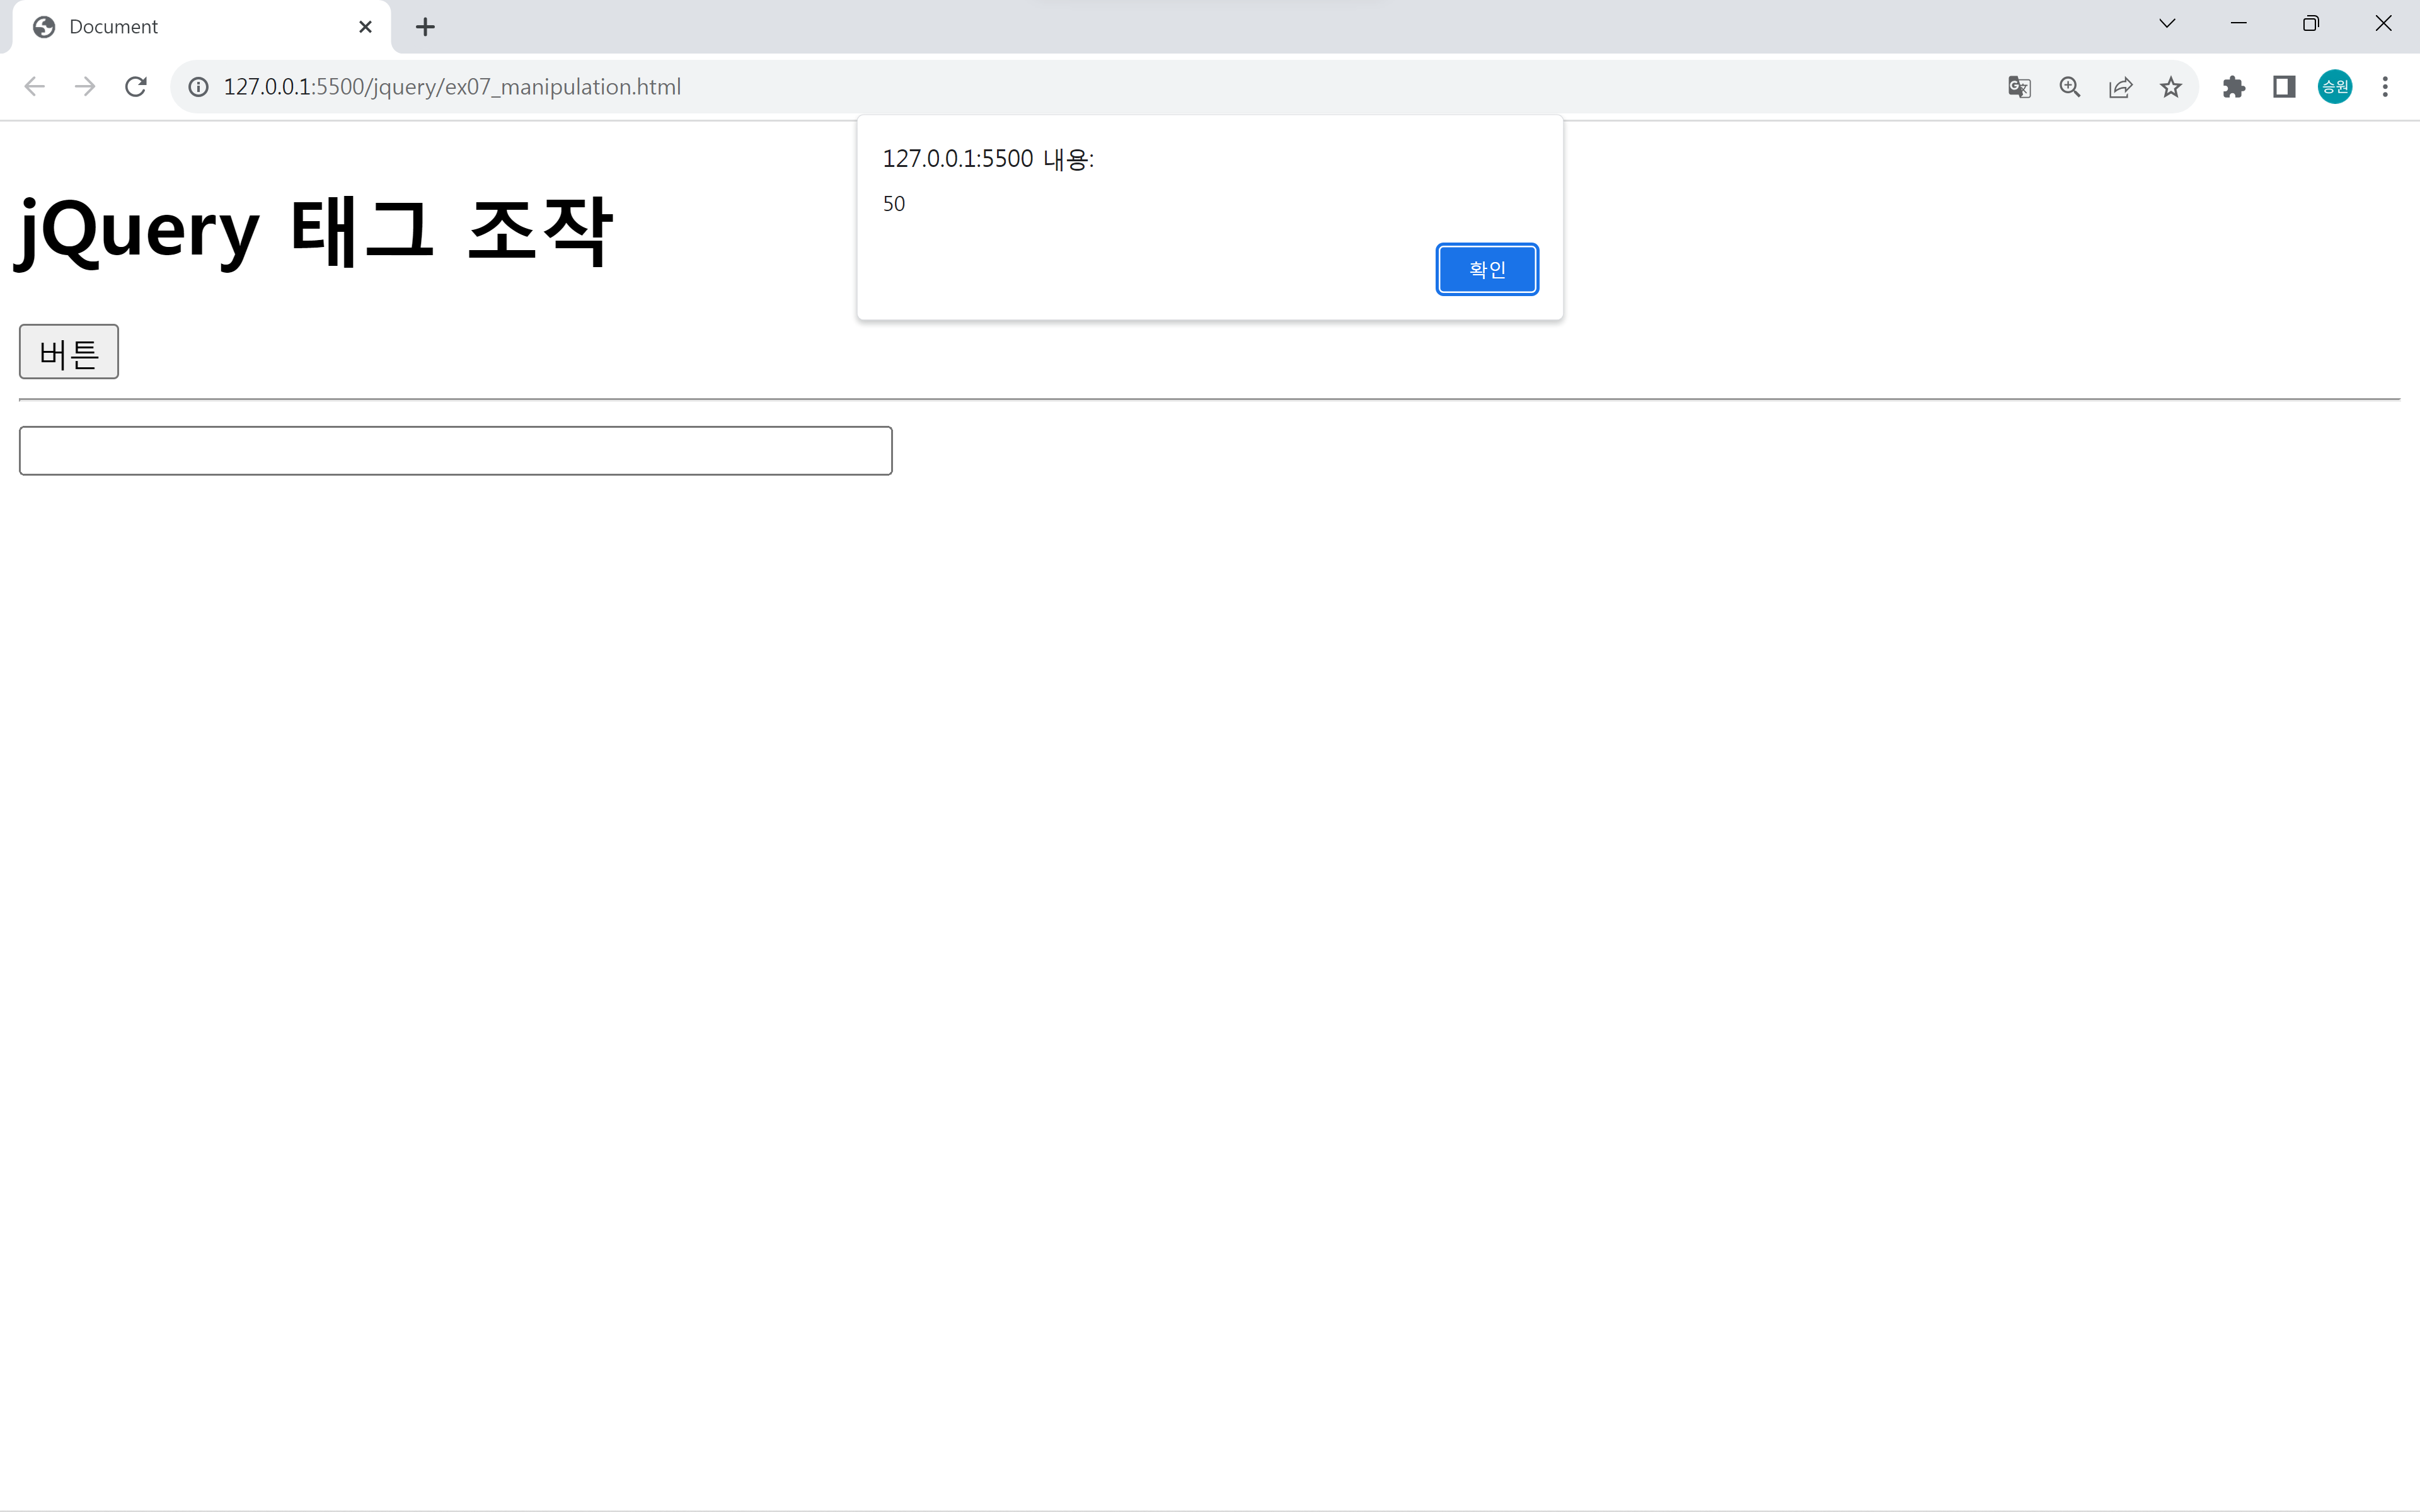
prop()
$('#txt1').prop('size', 50); //읽기
alert($('#txt1').prop('size')); //쓰기
prop 메서드는 JavaScript의 프로퍼티를 제어한다.
태그상에 명시적으로 코드가 기재되어 있지 않더라도 명시적으로 통제할 수 있다.
태그의 속성을 수정할 때에는 attr(), prop()를 모두 구분 없이 사용하되, 하나를 사용하다가 통제가 되지 않는 상황이 생긴다면 교체하여 사용하면 된다.
$('#txt1').attr('size', 10).attr('title', '입력하세요.').attr('maxlength', 5);

$('#txt1').attr({
    size: 10,
    title: '입력하세요',
    maxlength: 5
})
append(), prepend()
//box.innerHTML = "<img>";
$('#box').html('<img src="../asset/images/dog01.jpg">');

//box.innerHTML += "<img>";
$('#box').html($('#box').html() + '<img src="../asset/images/dog01.jpg">');- $('#box').append();
- $('#box').prepend();
let n = 0;
$('#box').append(`<img src="../asset/images/dog0${n}.jpg">`);
n = 1;
$('#box').prepend(`<img src="../asset/images/dog01.jpg">`);
위와 같은 누적 하면서 추가하는 작업을 append와 prepend로 할 수 있다.
append는 뒤에 추가하고, prepend는 앞에 추가한다.
jQuery 함수
- CSS 선택자: 태그를 검색
- 자바스크립트 객체: 형변환을 한다.
- HTML 태그 문자열: 태그를 생성한다.
- append('태그')
- prepend('태그')
- append('객체')
- prepend('객체')
$('#box').append($(`<img src="../asset/images/dog01.jpg">`).css('border', '1px solid black'));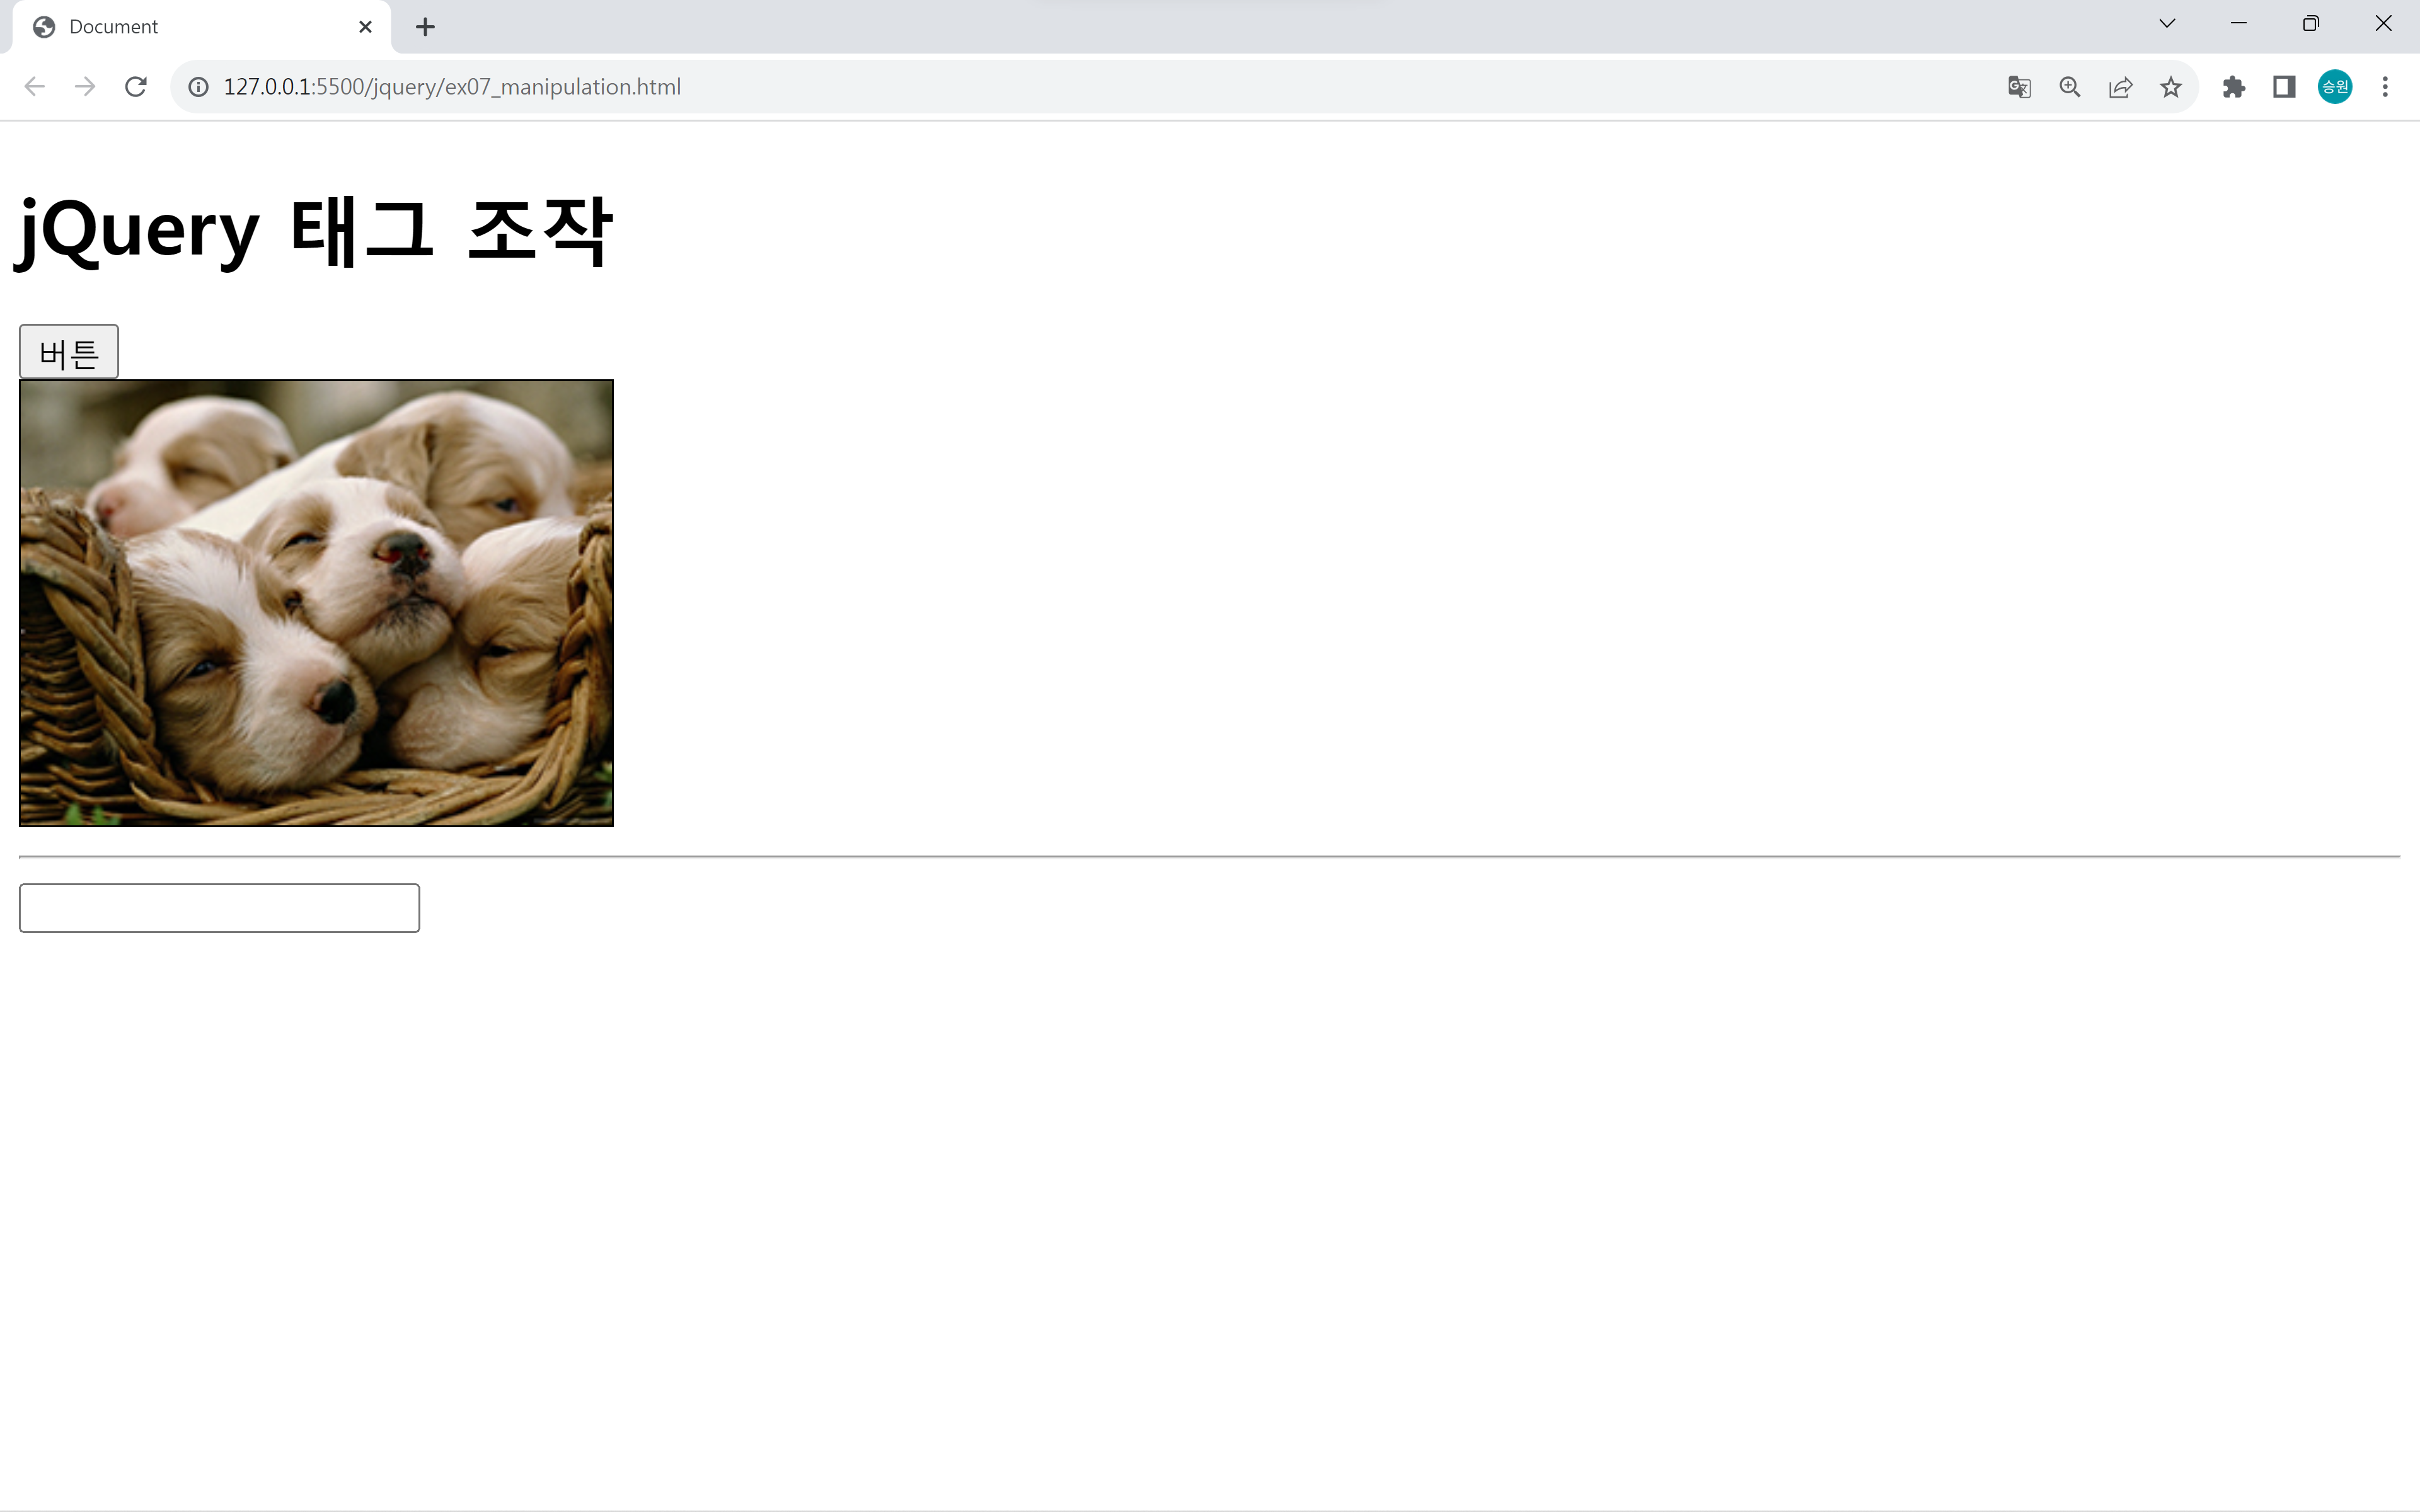
jQuery 타입으로 이미지가 동적으로 만들어진다.
append로 이미 만들어진 객체를 자식으로 추가할 수 있다.
appendTo(), prependTo()
- 부모.append(자식), 자식.appendTo(부모)
- 부모.prepend(자식), 자식.prependTo(부모)
$('#box').append('<input>');기존의 append는 부모인 box 태그 안에 자식으로 input 태그가 생성되도록 한다.
//$('#box').appenTo($('<input>'));
$('<input>').appendTo($('#box'));
appendTo는 부모 태그와 자식 태그의 위치가 바뀐 것이다.
$('#box').append($('<input>').attr('size', 10).css('color', 'blue'));

$('#box').attr('size', 10).css('color', 'blue').appendTo($('#box'));
두 코드는 같은 결과를 출력하지만, 누구를 주체로 하느냐에 따라서 차이를 보인다.
appendTo를 사용하면 이 같은 상황에서 가독성을 높여서 코드를 작성할 수 있다.
부모.remove(자식)
$('input').remove();
remove 함수로 태그를 삭제할 수 있다.